In the second installment of this two-part Ableton Push video tutorial, Dubspot instructor and Ableton Live Certified Trainer Dan Freeman discusses his live performance production method, and offers tips and tricks for composing in real-time with Push! Check out part one of this video tutorial.
The purpose of Push (recently released alongside Ableton Live 9) is to take digital production back to the physical realm, so producers can spend more time with their hands on an instrument instead of a keyboard and mouse. When I got Push, I thought it might be the right instrument for something I’ve wanted to do for a while – live production. Live production means starting out with no prerecorded tracks and creating a tune so quickly that it sounds like a performance.
In the Ableton Live set that I use for live production, all I have are some Drum Racks full of samples, and some synth pads and leads that I built with Ableton’s instruments. In addition to Push, I’m also using a Korg nanoKONTROL 2, which controls a set of DJ effects in my Master track. (These are effects that, as a Level 6 Dubspot instructor, I have my students build.) I also have some headphones which play a click track – this is handy for moments in the set where the music drops out and I have to play something in time. The only track that’s prepared in advance is a sidechain kick. The sidechain kick can’t be heard – it’s used to make the music “pump” in time. (This is covered more extensively in our six-level Ableton course here in New York and online.)
There are two ways to program drums using Push: press Record and play the drums in real time using the pads, or use the step sequencer. For live production, I favor the step sequencer method. Once the beat is programmed, it’s easy to create variations. The Double button will make the drum pattern twice as long. Once the pattern is doubled, the Loop Length buttons allow me to move the loop brace, and modify one or more bars of the beat. Once some variations are created, I can use the Loop Length buttons to jump between them.
Another important feature for live production is Push’s scale mode. Press the Scales button to bring up a screen displaying a series of scales and keys. For this performance, I used F minor. There are two global scale options: Fixed and Chromatic. In Fixed mode, Push only lets you play notes in the selected scale. In Chromatic mode, all notes are available, but only the notes in the scale are lit up. I prefer Chromatic mode, because I like to use notes outside of the scale when I create lines.
The buttons that run along the top of Push are used to select the track you want to work with. These make it easy to jump back and forth between different parts. The buttons below are Track Activator switches, which are handy for quickly muting and un-muting parts. Another trick I discovered was using the arrow buttons to move between scenes. You can get some great rhythmic contrast with these.
Thanks for checking out these videos!
Dubspot instructor Dan Freeman (CØm1x) is a Brooklyn-based Bassist/Producer and Ableton Certified Trainer. He has traveled and performed extensively worldwide as a session bassist and with his group Comandante Zero (CØ), a digital music and art collective. He currently directs Dubspot’s international programs, and does clinics on production using Ableton Live around the globe.
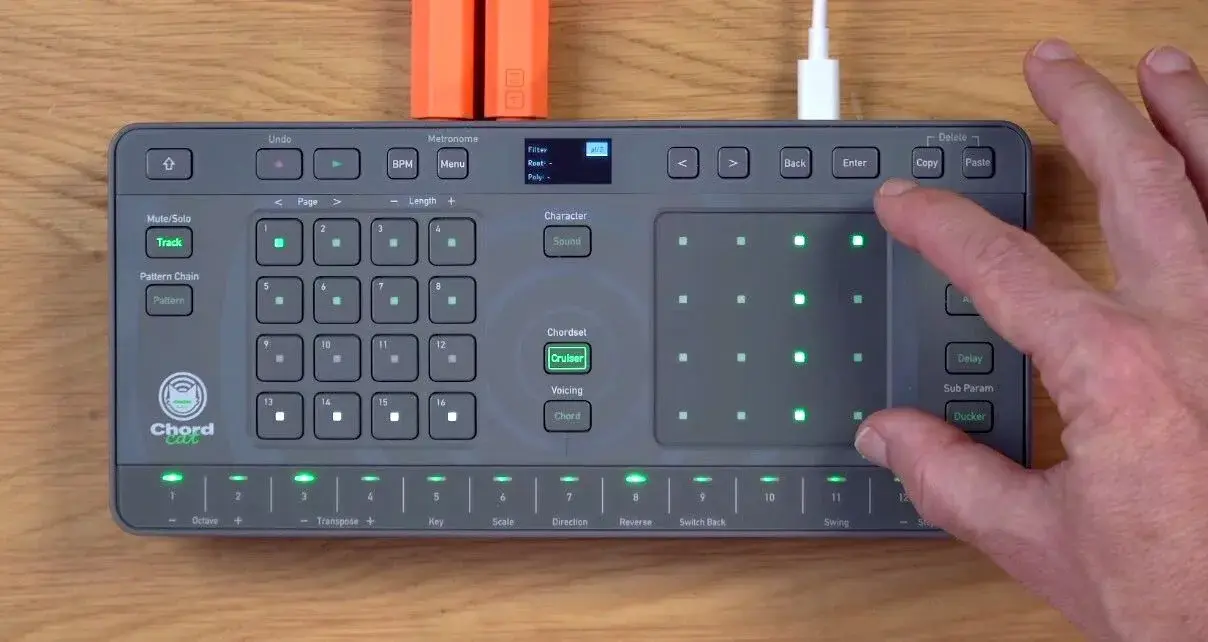
If you've ever stared at your keyboard, scratching your head over the next chord in your progression, th...
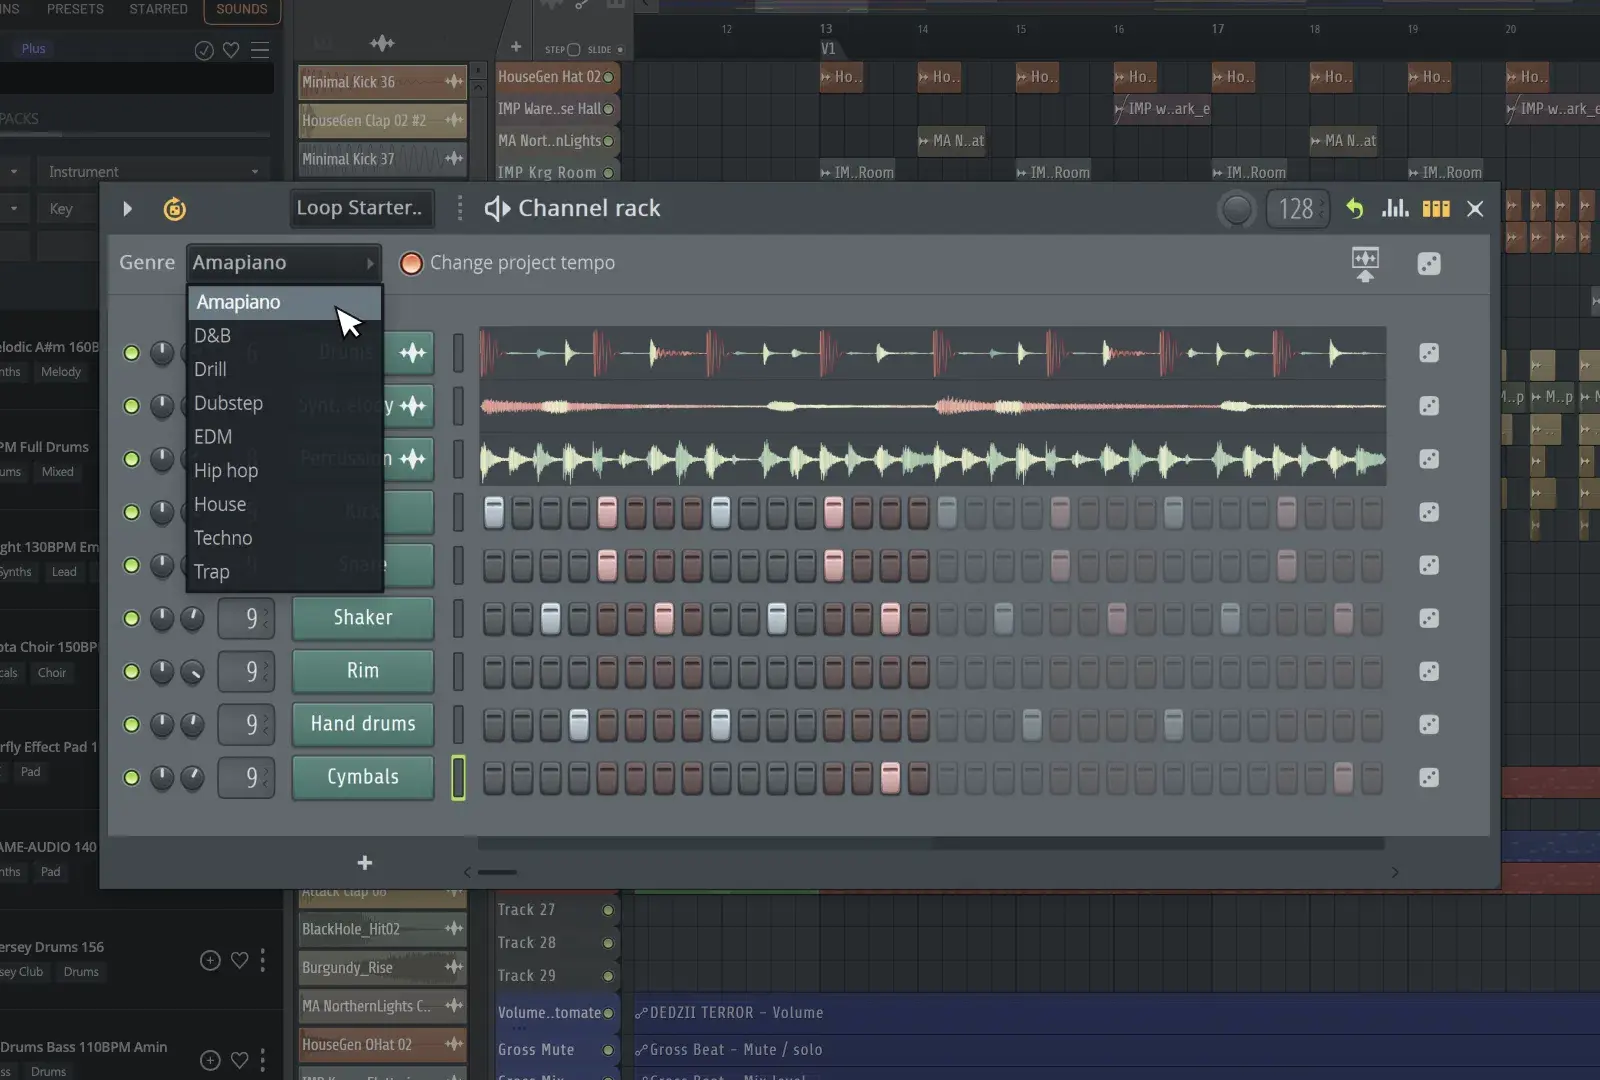
FL Studio 2025: Start Faster, Finish Stronger with Game-Changing Creative Tools Say goodbye to creative ...
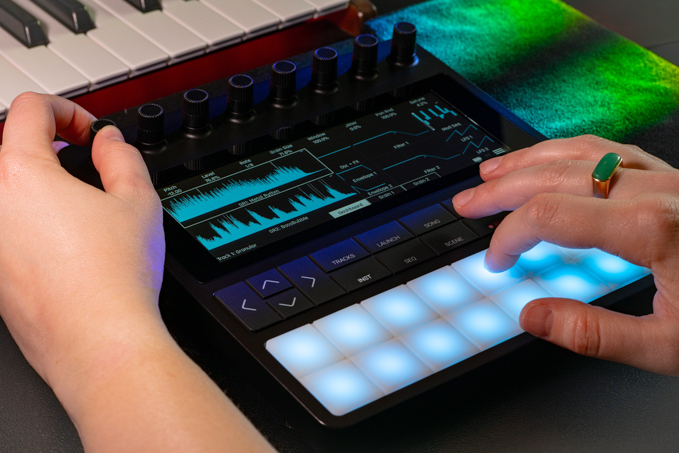
Sample Every Flavor: A Deep‑Dive Review of 1010music Bento Introduction 1010music Bento isn’t just anoth...
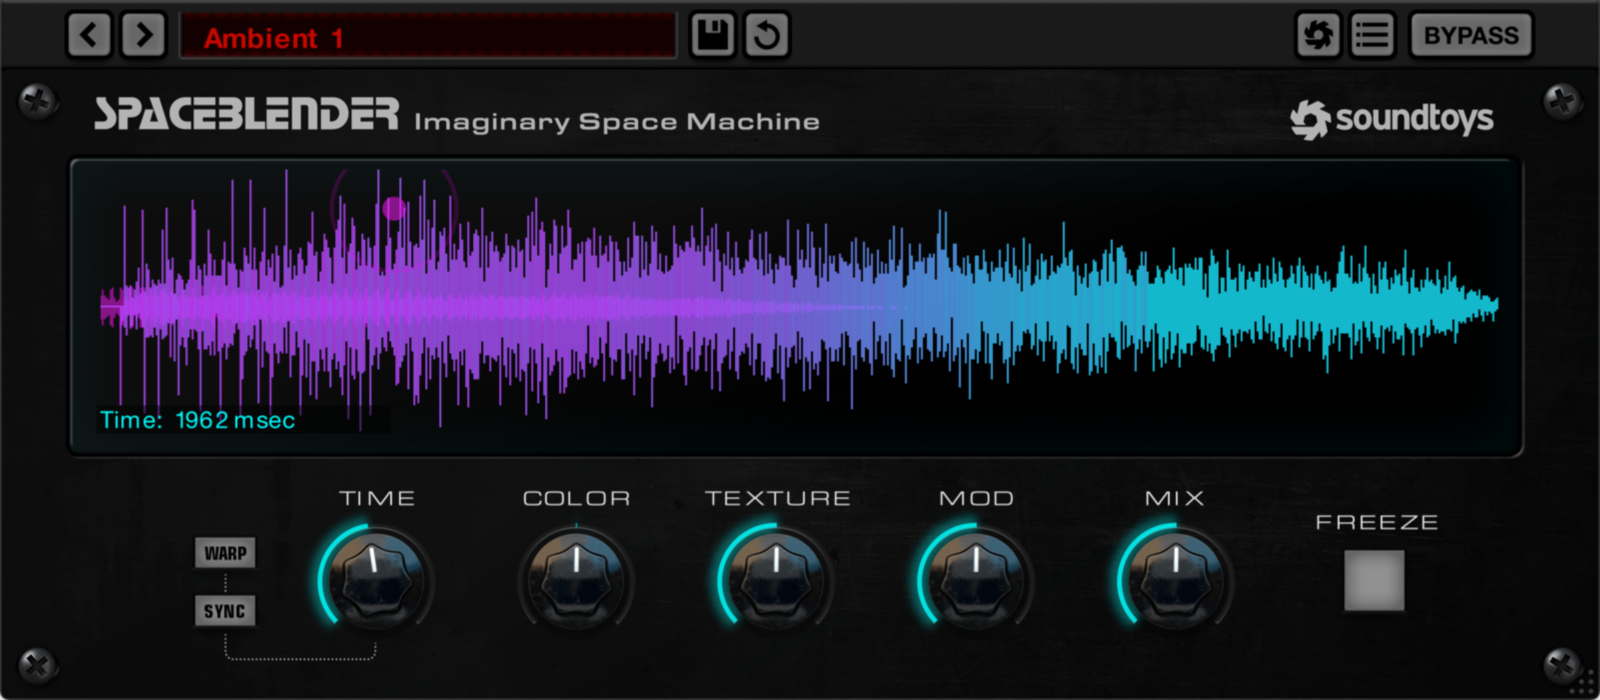
Soundtoys got a surprising new release of SpaceBlender, an experimental reverb plugin that is currently ...